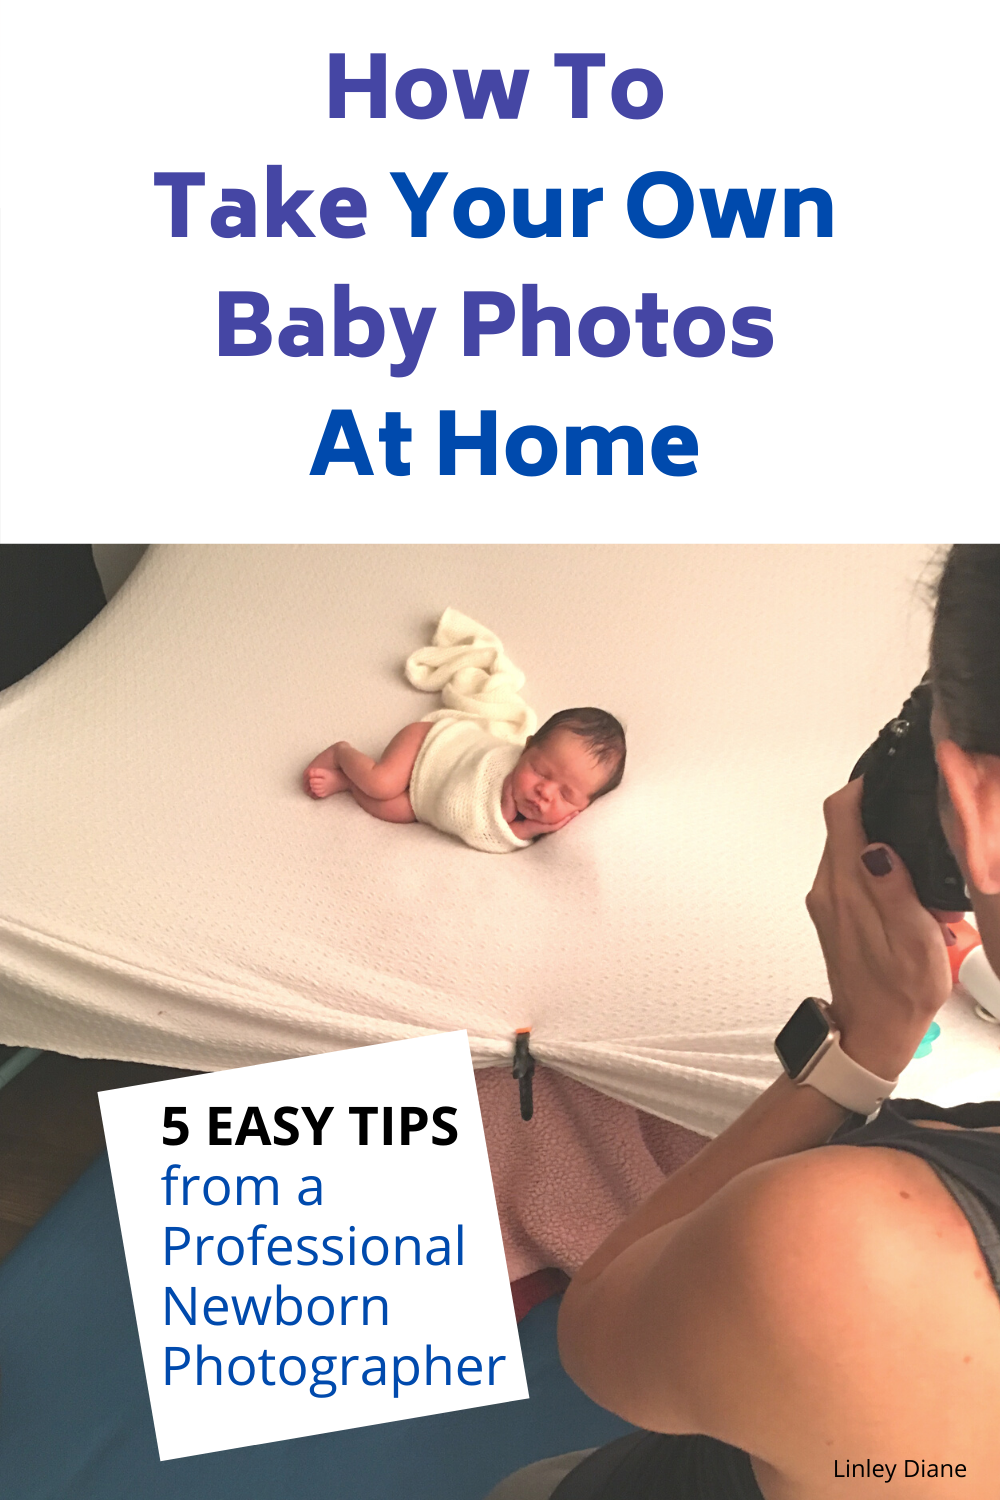
This post is all about How To Take Your Own Baby Photos At Home!
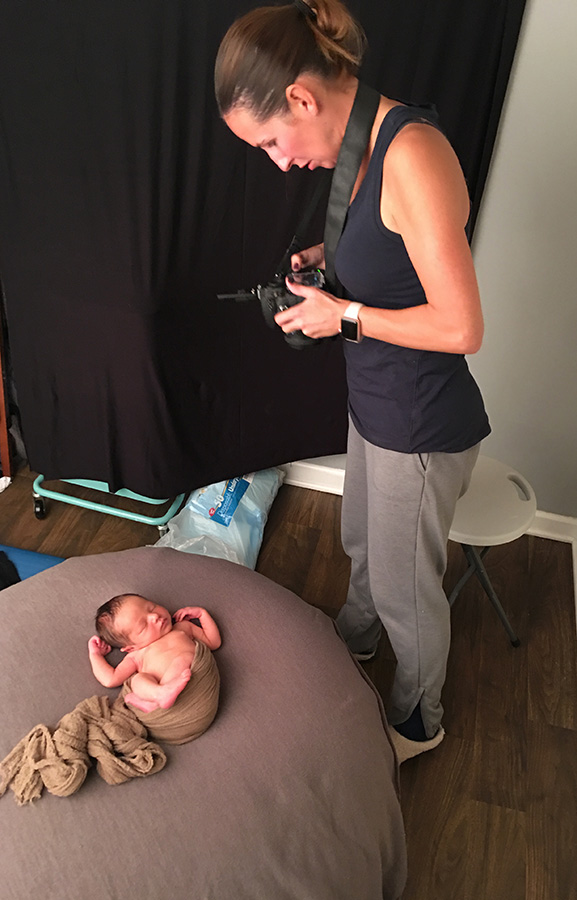
As a professional newborn photographer of over 10 years now, I have loads of experience photographing babies in my studio. I’ve worked with around 1,000 newborns over the years!
(You can see more of my work over on www.annewilmusphotography.com, which is also where I originally posted this article.)
Now, I love what I do, and there is no replacement for posed newborn photos in a studio. For safety reasons, you need an experienced professional for that!
But sometimes, that’s just not in the cards. Whether it be for budget reasons, health concerns, or even personal preference.
This quick guide will help you with the basics of how to take your own baby photos at home!
(This post may contain affiliate links, which means I’ll receive a small commission if you purchase through my link, at no extra cost to you).

1. Pick a well lit area for your photos. Lucky for us, babies are super portable! So, when possible, pick your little one up and move them over next to a window before you take that photo! A grainy photo in a dark area just isn’t going to do your little one justice!
Pro Tip: An inexpensive reflector like this one, will really help to add some light on baby’s face. You’ll find yourself using it a lot as you take more and more pics!

2. Make sure the exposure and focus are spot on. I-phones make this incredibly easy by just touching the screen. You can adjust these things in a second with the slide of your finger, so you should be pretty well set if you just take that moment to check the focus square. (Filters are great to enhance and fix minor things, but it’s always best to have a good photo from the start. Remember, you want to capture the natural beauty of your new baby, you don’t want to have to use a retro filter that will unnecessarily date the photo.)
Pro Tip: An I-phone is great, but if you are ready to up your game, try a starter DSLR or mirrorless camera for way more control over how your photos will look!
For starters, I recommend one of the following basic models (the mirrorless is weighs less and seems to be where the major development of professional cameras are headed). These models are basic and you can always trade them in and upgrade later if you find that you really love using a certain type of camera and want to invest in your future family moments.:

3. Related to the first point, position the baby so the light from the window (or whatever your light source may be) is NOT pointing up their nose. You know how when telling a ghost story, a kid will shine their flashlight up their face and it looks super bad and creepy? Ya. Don’t do that to your baby! And while you’re at it, don’t point the camera angle up their nose either.

4. Get in a photo with your kids! You won’t regret it, I promise.

Pro Tip: You can use a timer and tripod to accomplish this!
5. In this season of life, with your baby changing so quickly, any photo is better than no photo! So while all of the above are great tips, don’t let anything stop you from taking a photo anyway. If you can’t find the perfect spot of light or simply don’t want to move from the comfy spot on the couch, go ahead and snap that photo anyway. Not every photo has to be worthy of posting and sharing online. You can keep some just for you and your own memories. You really can never have too many photos of your baby!

Related: The top (Inexpensive!) products I use in my newborn studio for happy, sleepy babies!
This post was all about How To Take Your Own Baby Photos At Home!
You May Also Be Interested In:
HOW TO DISPLAY YOUR FAMILY PHOTOS
WHAT TO WEAR FOR FAMILY PHOTOS IN THE FALL
WHAT TO WEAR FOR CHRISTMAS PHOTOS


